
Registration and Login
TIP
Before registering, read the Terms of Service and Privacy Policy shown on the login page and prepare an email address that can receive verification codes.
Register a RoxyBrowser Account
After starting RoxyBrowser, enter your email on the login page and click Sign in / Sign up. You can also use one of the third-party sign-in methods shown on the page.
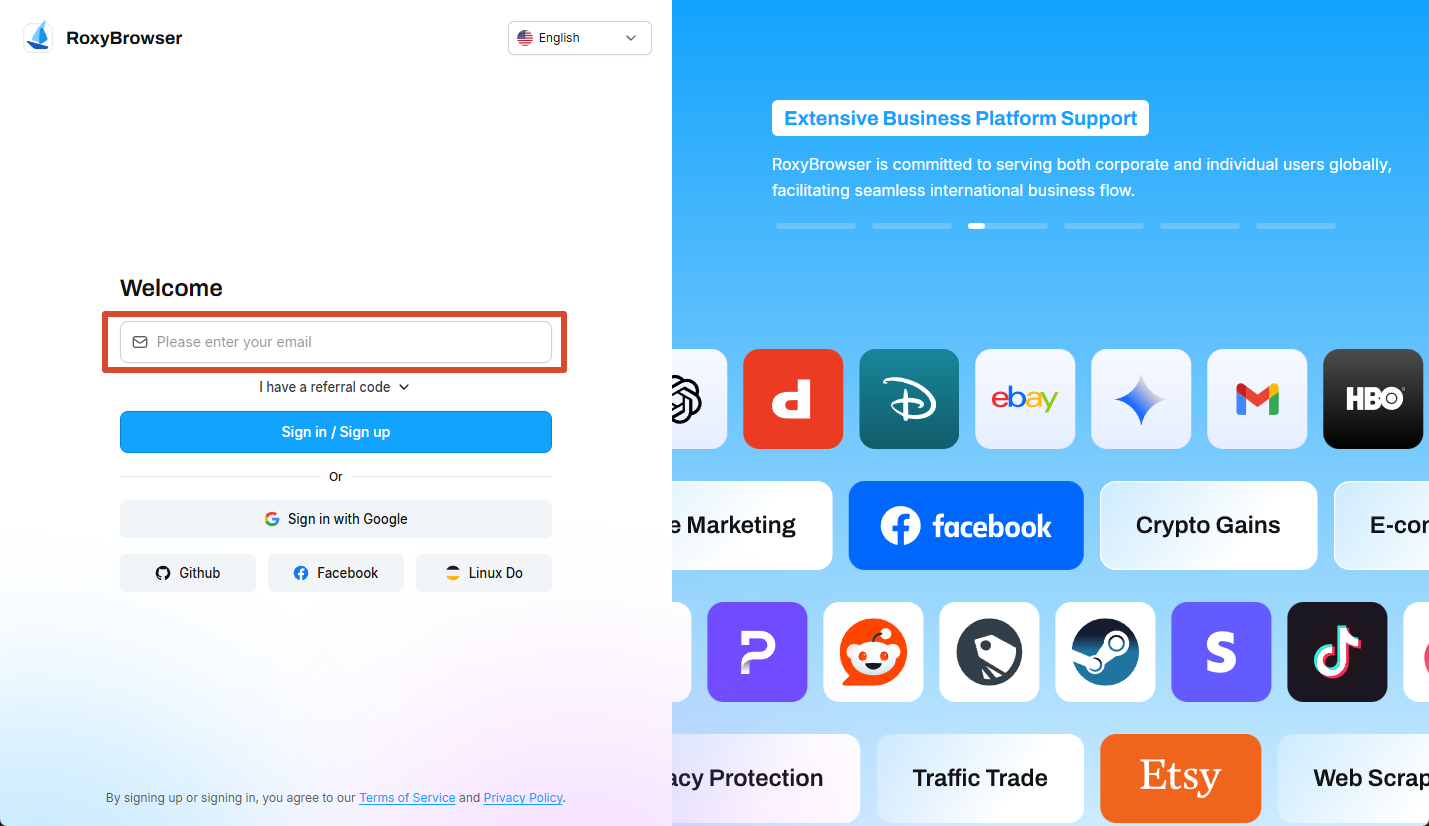
Register with Email
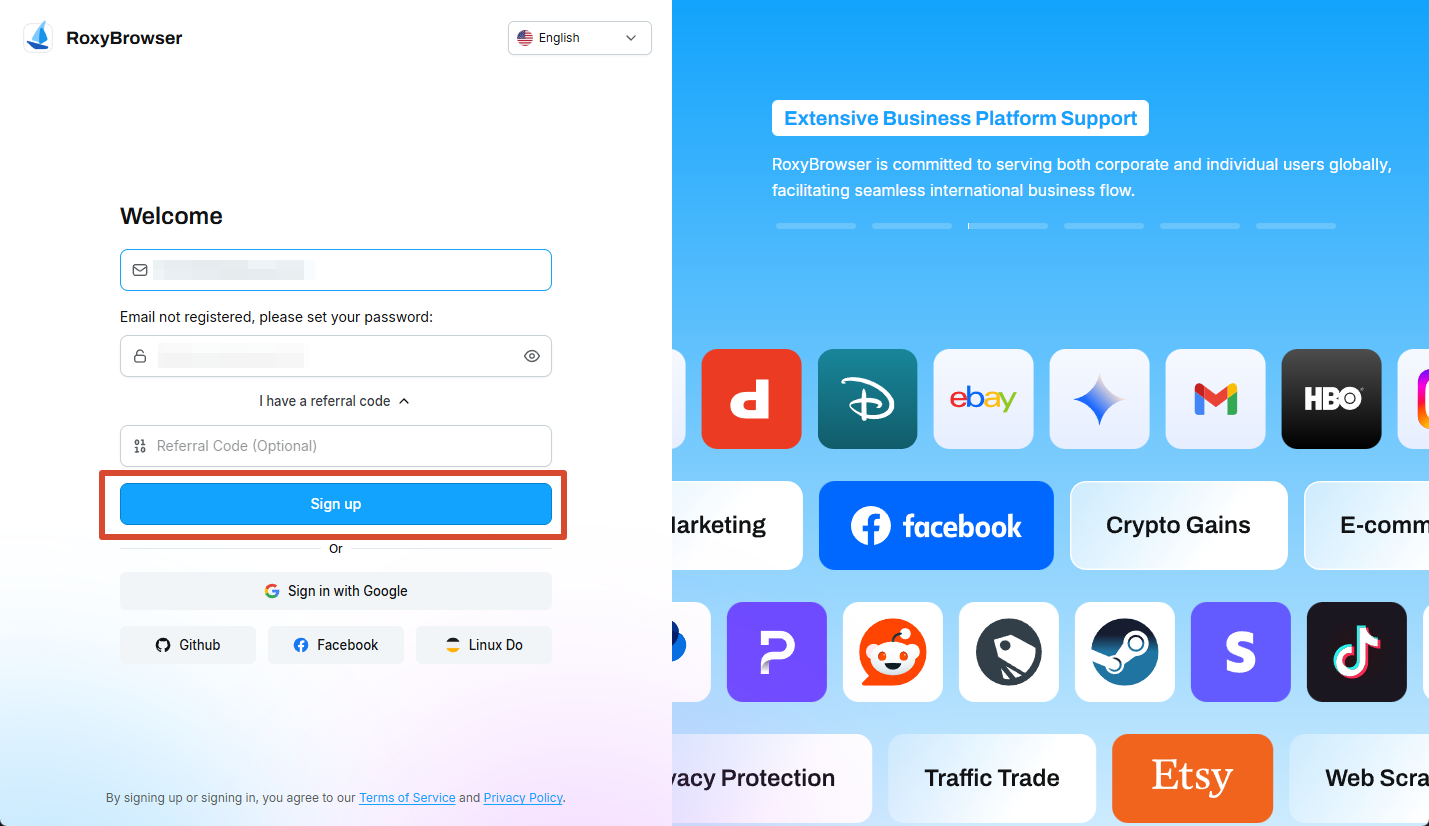
- Enter an email address that can receive messages.
- Set and confirm your password.
- Enter a referral code if you have one.
- Read the agreements shown on the page.
- Click Sign up and complete email verification as instructed.
WARNING
Do not use a temporary email address. Use an address you can continue to access so that you can receive verification and password reset messages.
Register or Sign In with a Third-Party Account
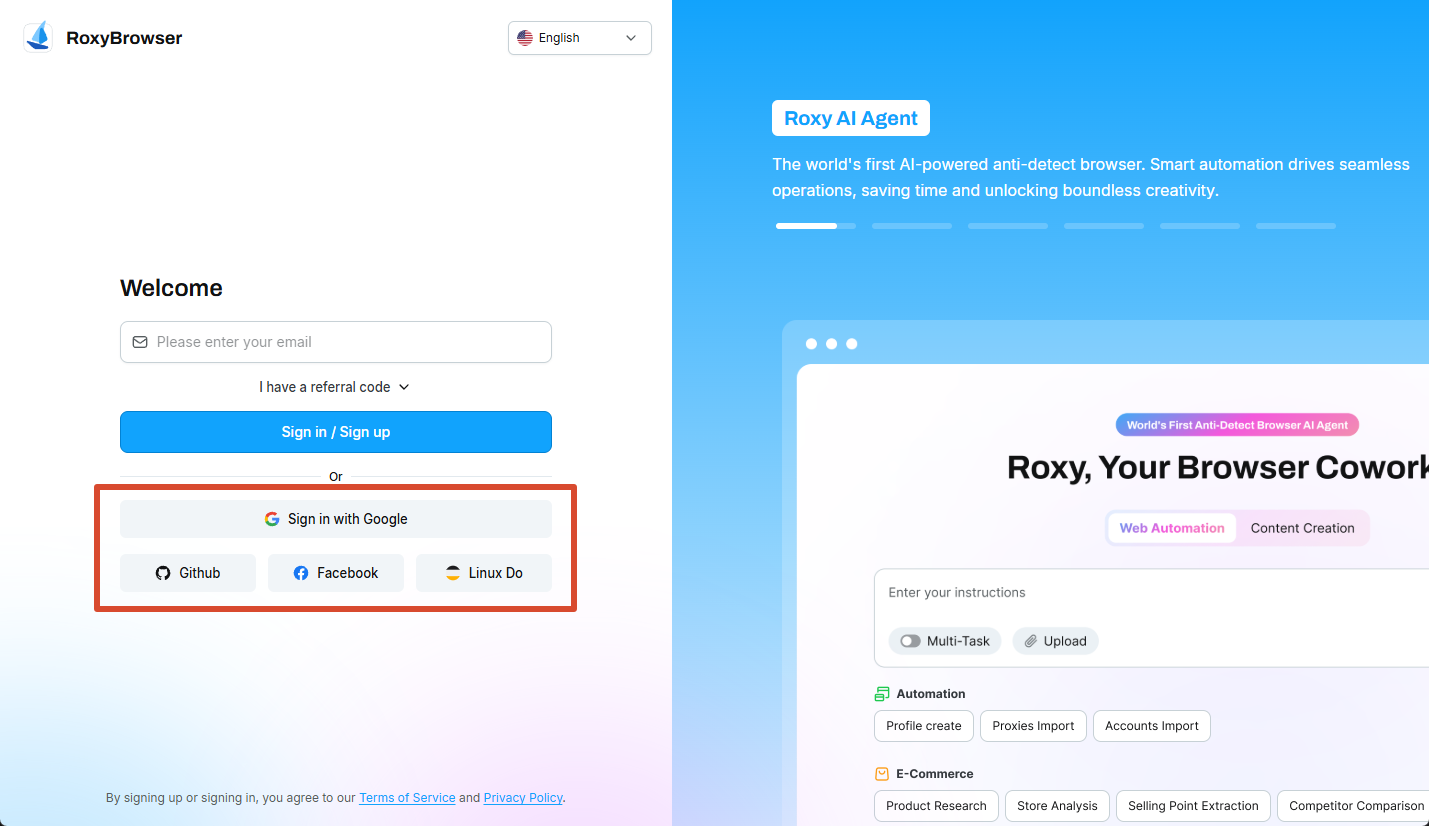
Use Sign in with Google, GitHub, Facebook, or another option available on the login page, then follow the authorization instructions. On first use, RoxyBrowser creates or links an account. Continue using the same sign-in method afterward.
Sign In to the Client
Enter the registered email and password, or select a linked third-party sign-in method. After signing in, the client opens the E-commerce Mode workspace for the current team.
If the client opens in General Mode, use the mode switch in the Help Center to view the matching documentation. E-commerce accounts and groups must be managed in E-commerce Mode.
Reset Your Password
- Click Forgot Password? on the login page.
- Enter the email associated with the account and click Go to Verify.
- Enter the six-digit verification code sent to your email and click Next.
- Set and confirm a new password, then return to the login page and sign in with it.
If the code does not arrive, check the spam folder, wait a few minutes, and request another code. If the issue continues, contact Online Support.
After signing in, continue with Quick Account Creation.